樱花飘落特效
特效源码以及修改
虽然 Fluid 主题开屏的标题打字机效果已经相当好看了, 但只有一张图片和一句话还是有些单调了。看到很多人的博客首页有动态效果, 决定自己也整一个, 参考了这篇博客。
源码可以在这里获取: sakura.js
其中 img.src 是飘落物的图片, 可以自行修改成其他样式
飘落物的数量在下面这段循环中修改, i 是数量:
1
2
3
4
5
6
7
8
9
10
11
12
13
14
15
16
17
| for (var i = 0
var sakura, randomX, randomY, randomS, randomR, randomFnx, randomFny
randomX = getRandom('x')
randomY = getRandom('y')
randomR = getRandom('r')
randomS = getRandom('s')
randomFnx = getRandom('fnx')
randomFny = getRandom('fny')
randomFnR = getRandom('fnr')
sakura = new Sakura(randomX, randomY, randomS, randomR, {
x: randomFnx,
y: randomFny,
r: randomFnR
})
sakura.draw(cxt)
sakuraList.push(sakura)
}
|
飘落的速度在下面这个函数中修改, fnx 控制的是水平摆动范围, fny 控制的是飘落物速度, 可以自行修改它们的基值或范围以获得不同的效果:
1
2
3
4
5
6
7
8
9
10
11
12
13
14
15
16
17
18
19
20
21
22
23
24
25
26
27
28
29
30
31
32
33
34
35
36
| function getRandom(option) {
var ret, random;
switch (option) {
case 'x':
ret = Math.random() * window.innerWidth;
break;
case 'y':
ret = Math.random() * window.innerHeight;
break;
case 's':
ret = Math.random();
break;
case 'r':
ret = Math.random() * 6;
break;
case 'fnx':
random = -0.5 + Math.random() * 1;
ret = function (x, y) {
return x + 0.5 * random - 1.7;
};
break;
case 'fny':
random = 1.5 + Math.random() * 0.25
ret = function (x, y) {
return y + random;
};
break;
case 'fnr':
random = Math.random() * 0.03;
ret = function (r) {
return r + random;
};
break;
}
return ret;
}
|
将特效引入主题
像以前一样直接在配置文件 _config.fluid.yml 的 custom_js 处引入对应的脚本当然是没问题的, 通过这种方式引入的脚本会在博客的所有页面生效。但在查阅资料后发现使用 hexo 提供的注入方式可以选择生效界面, 这毫无疑问与我只在主页显示而不想在其他页面(如文章页, 归档页等)生效的想法所契合。
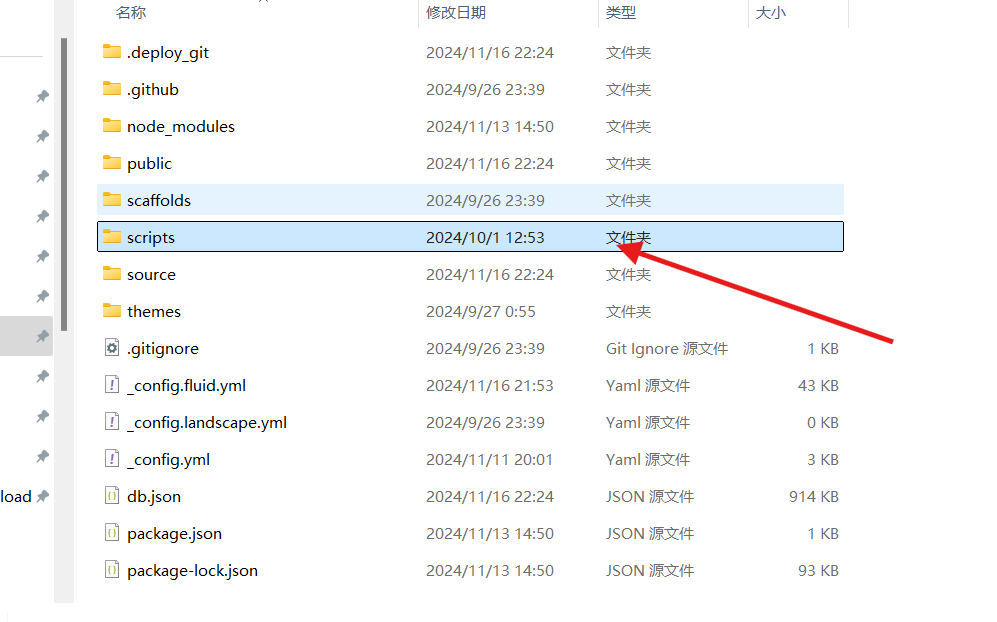
在博客根目录( source 同一级) 的 scripts 目录下的js文件中添加以下代码:
1
| hexo.extend.injector.register('body_end', '<script type="text/javascript" src="/js/sakura.js"></script>', 'home');
|
其中第一个参数 body_end 表示注入的位置, 第二个参数为注入的内容, 而第三个参数表示注入的页面类型, 它接受以下值:
default: 注入到每个页面(默认值)home: 只注入到主页(is_home() 为 true 的页面)post: 只注入到文章页面(is_post() 为 true 的页面)page: 只注入到独立页面(is_page() 为 true 的页面)archive: 只注入到归档页面(is_archive() 为 true 的页面)category: 只注入到分类页面(is_category() 为 true 的页面)tag: 只注入到标签页面(is_tag() 为 true 的页面)- 或是其他自定义
layout 名称,例如在Fluid 主题中 about 对应关于页、links 对应友联页
其他使用方式可以参照 Hexo 以及 Fluid 提供的注入文档。
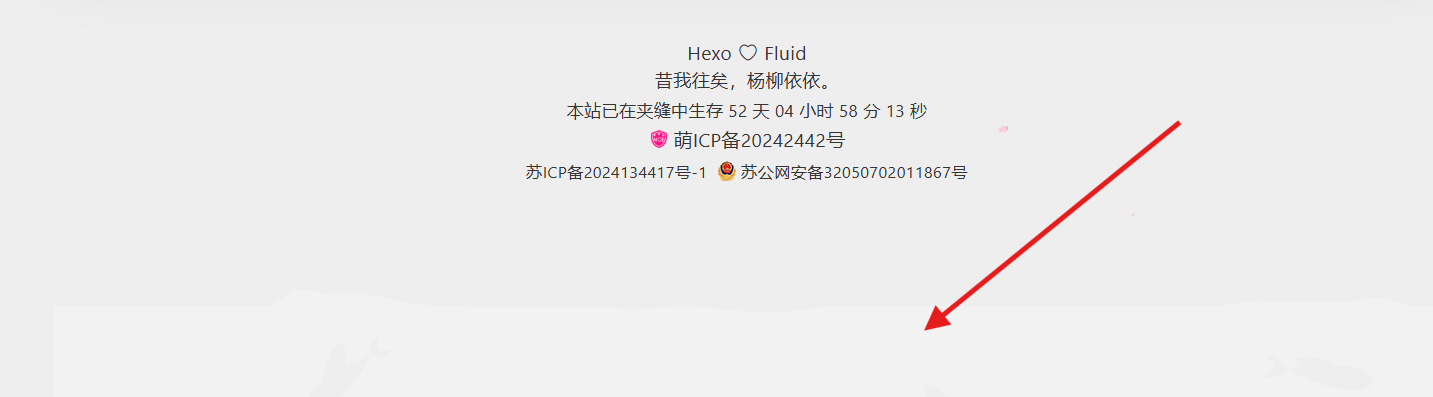
页脚美化: 养鱼!
我的页脚只有一堆文字以及备案号, 过于单调且不雅观, 所以一直想美化一下! 最近看到了一篇如何在页脚养鱼的博客, 话不多说直接上手~~
源码以及修改
上面提到的博客里是对 butterfly 主题 的修改, 使用 Fluid 主题的我们也要做相应的修改, 当然, 实质上也就是将对应 js 和 css 放到对应的位置罢了。
方式一: 直接引入CDN
直接引入 CDN 当然是最简单直接的方式, 不过对于引入的脚本以及样式就不好修改了 —— CDN 引入的动画效果本身是白色为底色的, 比较适合将背景固定了的博客。方式是直接在 _config.fluid.yml 的 custom_js 处添加
1
| - https://cdn.jsdelivr.net/gh/xiabo2/CDN@latest/fishes.js
|
可以看到这效果简直就是吃饱了撑的没事干, 竹篮打水一场空……
方式二: 手动引入
要说为什么直接引入 CDN 的方式不行, 还得从它的源码看起。点入 CDN , 可以看到它是这样的:
1
2
3
4
5
6
7
8
9
10
11
12
13
14
15
16
17
18
19
20
| fish();
function fish() {
return (
$("#footer-wrap").css({
position: "absolute",
"text-align": "center",
top: 0,
right: 0,
left: 0,
bottom: 0,
}),
$("footer").append(
'<div class="container" id="jsi-flying-fish-container"></div>'
),
$("body").append(
'<script src="https://cdn.jsdelivr.net/gh/xiabo2/CDN@latest/fish.js"></script>'
),
this
);
}
|
实际上,fish()函数执行了以下操作:
- 设置
#footer-wrap 的样式属性,使其在页面中位于固定位置。
- 动态向
footer 标签中添加一个 div ,其 id 为 jsi-flying-fish-container,用于容纳动画的画布或其他内容。
- 引用
fish.js。
再查看 fish.js 的源码, 可以发现飞鱼动画的颜色配置隐藏在 fish.js 的 render 方法中,其中的 fillStyle 属性控制了动画区域的填充颜色,当前默认值为 'hsl(0, 0%, 95%)'(接近白色)。要修改颜色,需要调整源码中的 fillStyle 值。
1
2
3
4
5
6
7
8
9
10
11
12
13
14
15
16
17
18
19
20
21
22
| render : function(){
requestAnimationFrame(this.render);
this.controlStatus();
this.context.clearRect(0, 0, this.width, this.height);
this.context.fillStyle = 'hsl(0, 0%, 95%)';
for(var i = 0, count = this.fishes.length; i < count; i++){
this.fishes[i].render(this.context);
}
this.context.save();
this.context.globalCompositeOperation = 'xor';
this.context.beginPath();
this.context.moveTo(0, this.reverse ? 0 : this.height);
for(var i = 0, count = this.points.length; i < count; i++){
this.points[i].render(this.context);
}
this.context.lineTo(this.width, this.reverse ? 0 : this.height);
this.context.closePath();
this.context.fill();
this.context.restore();
}
|
看到这里我们手动引入的文件结构也就相当清晰了 —— 一个两个个文件, fishes.js 以及 fish.js。
其中
fishes.js 中需要将引用的 fish.js 的位置修改为本地路径 fish.js 要修改的地方是 fillStyle, 将其改为自己想改的填充颜色即可
源码文件可以从网站获取:
fishes.js
fish.js
修改完成后只需要在主题的配置文件中引入 fishes.js 即可。
样式修改
在上面对 fishes.js 的的解析中提到, 动画效果都在 .jsi-flying-fish-container 中, 因此要修改它的样式主要是对这个类样式修改。
1
2
3
4
5
6
7
8
9
10
11
12
13
14
15
16
17
18
19
20
21
22
23
24
| #jsi-flying-fish-container {
display: block;
bottom: 0px;
right: 0px;
left: 0px;
position: absolute;
text-align: center;
width: 100%;
opacity: 1;
height: 132px;
z-index: -1;
}
footer {
position: relative;
}
canvas {
position: absolute;
bottom: 0px;
left: 0px;
height: 100%;
width: 100%;
}
|
将其引入配置文件的 custom_css 处就完成了!
ps: 为什么高度是 132px: 动画效果的有色填充处与无色处分界线正好是画布的二分之一处, 而 MetingJS 播放器的高度是 66px , 这样会变得很规整捏。